No edit summary |
No edit summary |
||
| Line 53: | Line 53: | ||
[[File:making_reinforced_endless_loop_string-1024x768-13.JPG|400x300px|frameless]] |
[[File:making_reinforced_endless_loop_string-1024x768-13.JPG|400x300px|frameless]] |
||
| − | As the loop serving - especially the very end of it - is prone developing "cracks", I often |
+ | As the loop serving - especially the very end of it - is prone developing "cracks", I often [[Leather loop protection|protect the loops with thin leather]]. |
| − | |||
| − | [[File:making_reinforced_endless_loop_string-1024x768-14.JPG|400x300px|frameless]] |
||
| − | [[File:making_reinforced_endless_loop_string-1024x768-15.JPG|400x300px|frameless]] |
||
[[Category:English]] |
[[Category:English]] |
||
[[Category:Practical]] |
[[Category:Practical]] |
||
Revision as of 11:26, 16 May 2011
Introduction
A typical endless loop string for a bow is very simple to make and it works pretty well. The reasons why you might want to consider making a reinforced endless loop strings are outlined here.
In his book Payne-Gallway (1990: 111-112) describes one possible way to reinforce an endless loop string, but he does not give any hints about how to actually make one. This article aims to fill in the gaps left by Payne-Gallway by providing exact instructions how to make a reinforced loop string for a crossbow. The process is far from trivial and I hope this article helps other people avoid the lengthy trial-and-error period I had to go through. In fact, the third string I made was the first made properly, even though it still had some problems with one reinforcement loop. The first two were failures in one way or another.
Before you start, take a look at the instructions for making simple endless loop strings. I won't reiterate the basics here.
Process step-by-step
Start by attaching one end of the thread to jig's one post. Wind the loops up and then back down to keep the height of the skein as small as possible.

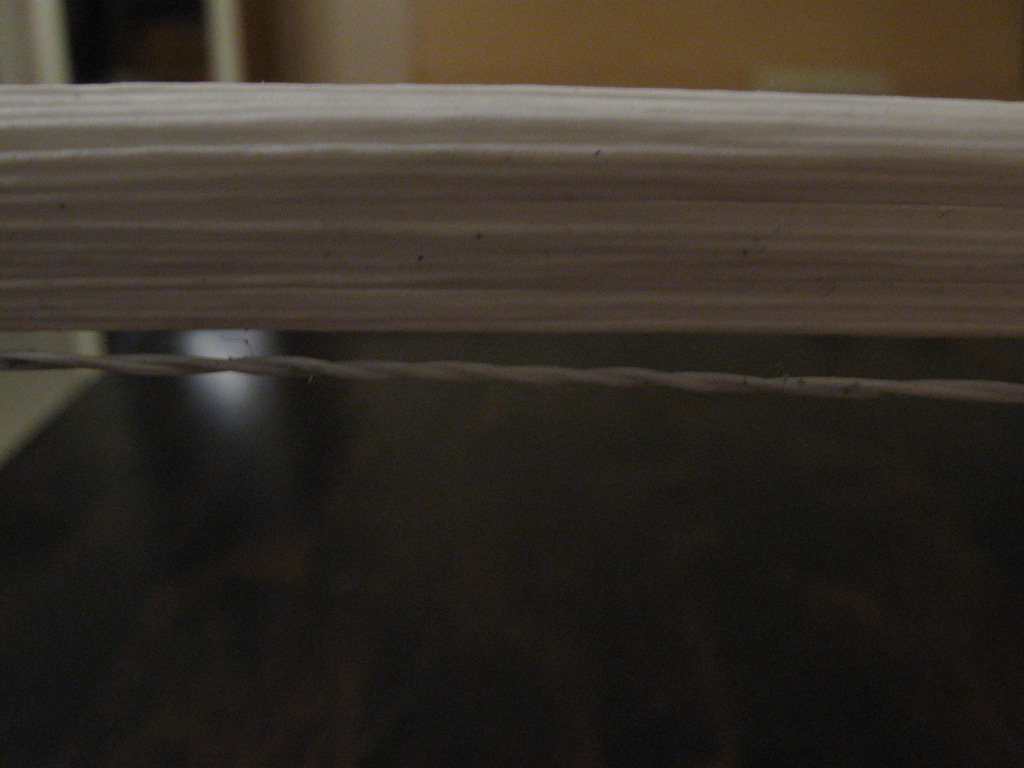
Once you've wound all loops, you need to attach the ends of the threads together. The option shown below is simple: just twist the ends together. Make sure the ends are left beneath the serving which will hold the reinforcement loops in place. This prevents the threads from slipping away from each other.
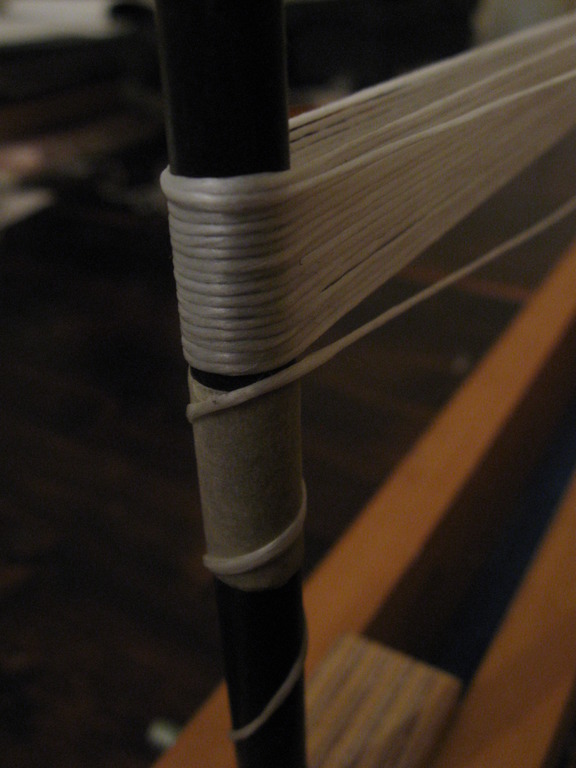
Next start serving the thread which will keep the reinforcements loops in place. The serving should extend far enough not to slip under pressure. My servings are usually 3-4 centimers wide. It is very important to remember two things here:
- Leave no extra space between the threads
- Make each loop very tight
If the serving is wound improperly, the pressure on the reinforcement loop will inevitably pull the serving closer to the bowstring's end. This, in turn, makes the reinforcement loop itself slack and thus useless.

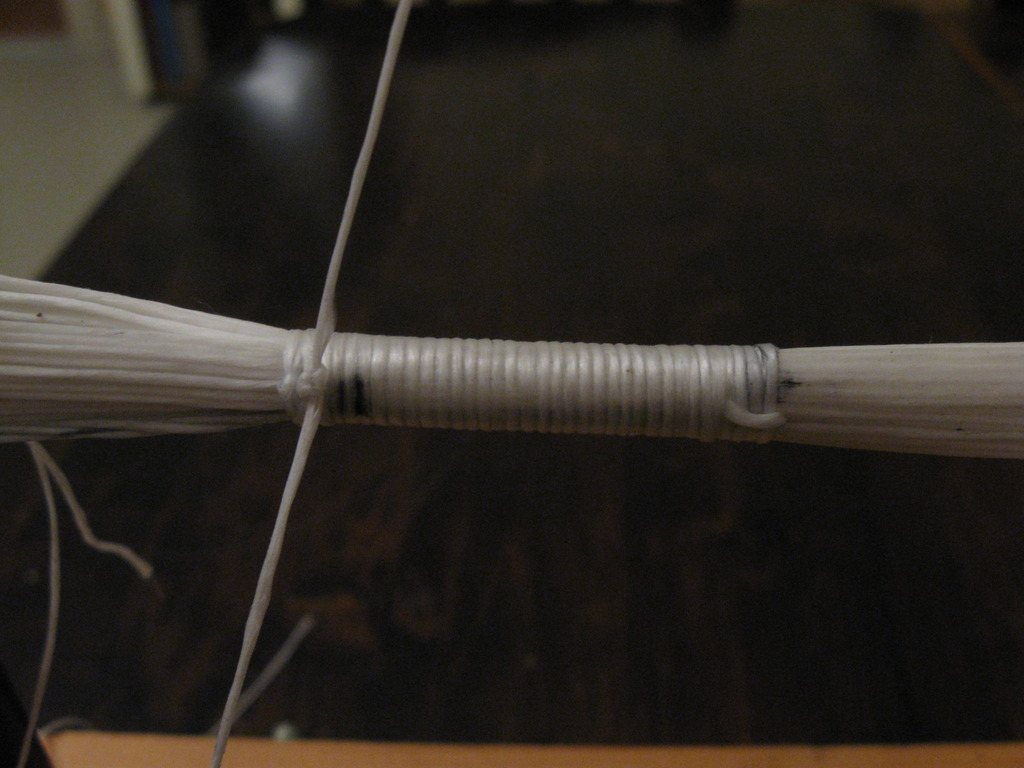
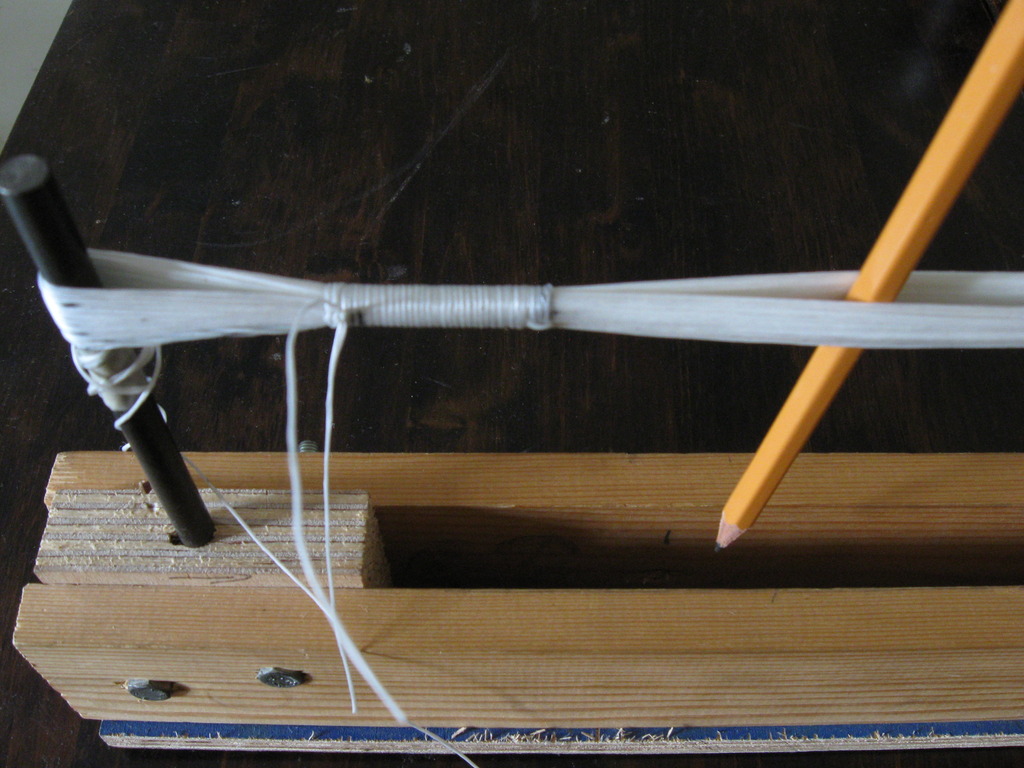
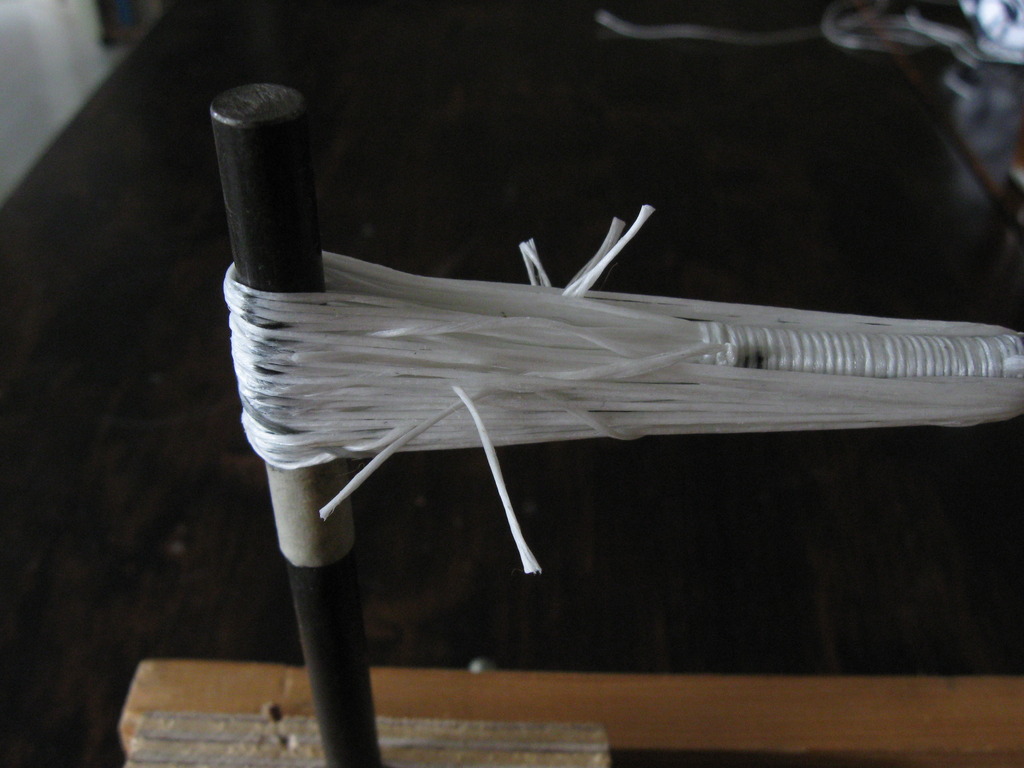
Now you can start winding the actual reinforcement loop. A pencil or a round dowel inserted between the halves of the skein make winding the thread easier. Yank each loop very tightly against the base of the serving holding the reinforcement loop together. Doing this gives two important benefits:
- Subsequent loops can't press previous loops any tighter against the serving
- Any slack is removed from the serving holding the reinforcements loops in place
This reduces the risk that reinforcement loop threads - or the whole reinforcement loop - become slack and thus useless later on. You should also wind each reinforcement loop thread noticeably tighter than the threads of the main skein: it's likely that the serving gives in a little, no matter what precautions you take. You can wind the loop in two (or more) layers like the main skein. When you've finished with winding the loop, attach the thread ends similarly to what you did with the main skein.
Now comes the somewhat tricky part - serving the loops of the bowstring. The serving will cover both the loops in the main skein as well as the reinforcement loops. I suggest taking a very long piece of thread and serving towards the end of bowstring simultaneously from both sides. Make each loop very tight. Also make sure you wind each half in the correct direction (clockwise or counterclockwise) so that you can tie the ends together when they meet. When you almost reach the peg, remove the loop from it, serve the remainder of the loop and finally tie the threads together. Note that it's pretty difficult to tighten the serving properly once the loop is removed from the peg - there's definitely room for improvement in this process.
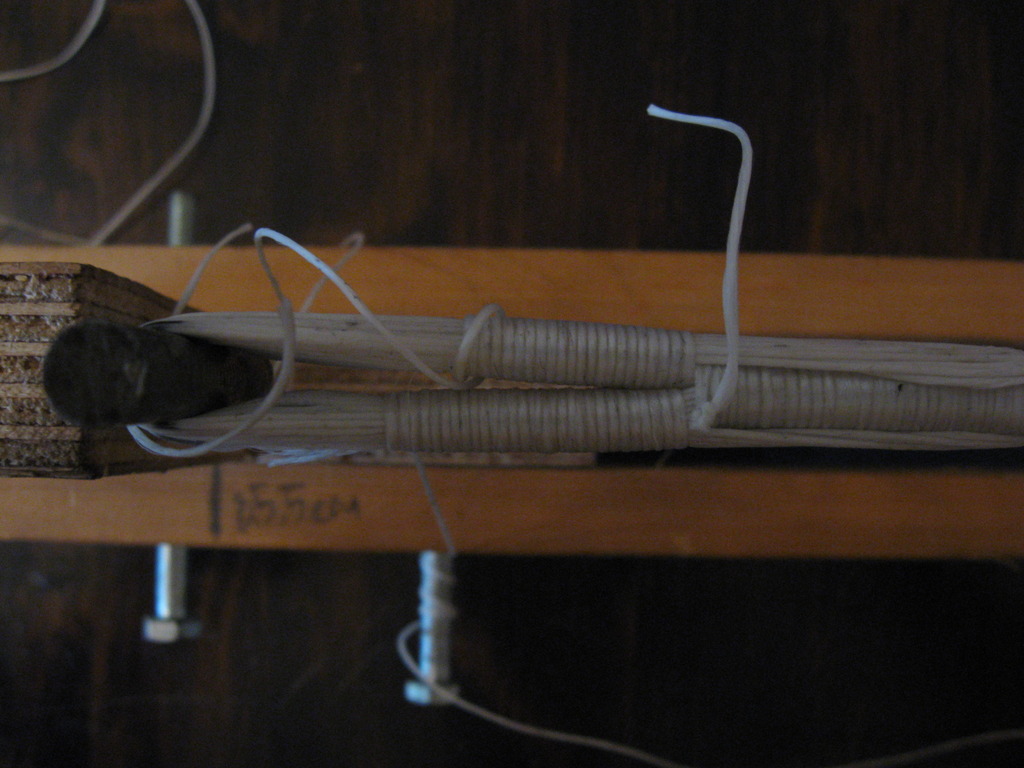
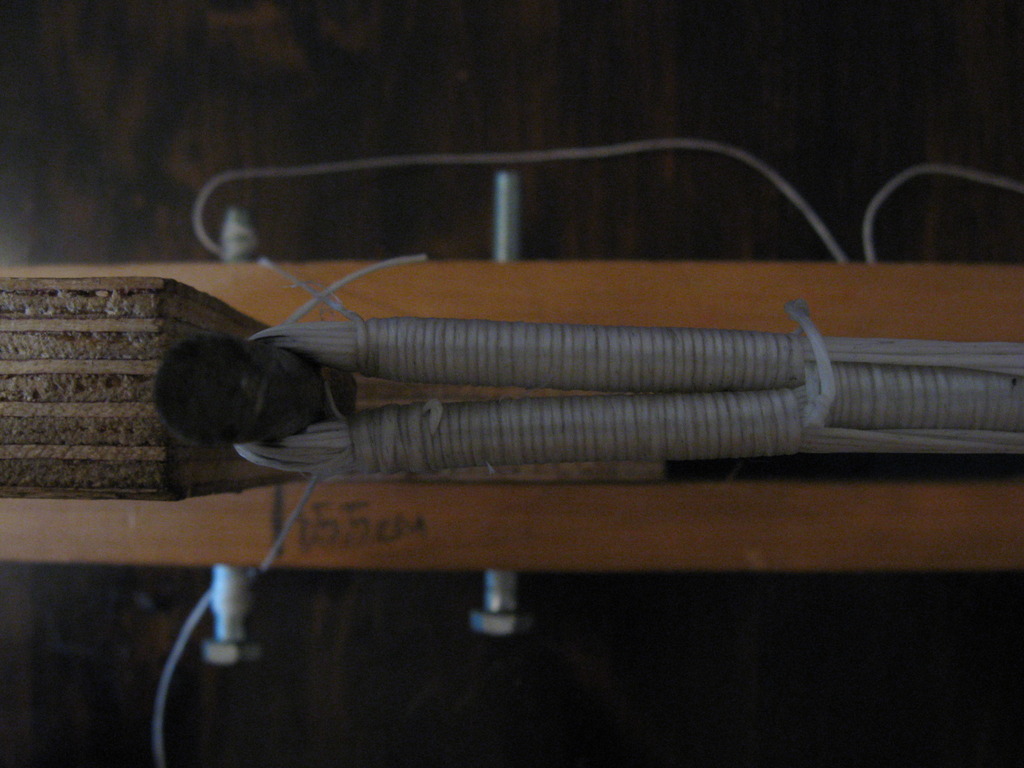

Once both loops have been served, reattach the bowstring to the pegs and wind thread in spiral motion from the loops towards the middle (see pictures below). This helps keep the individual threads in place if they break, reducing the chance of injury. An alternative is to serve several separate, small sections between the loops and the middle.

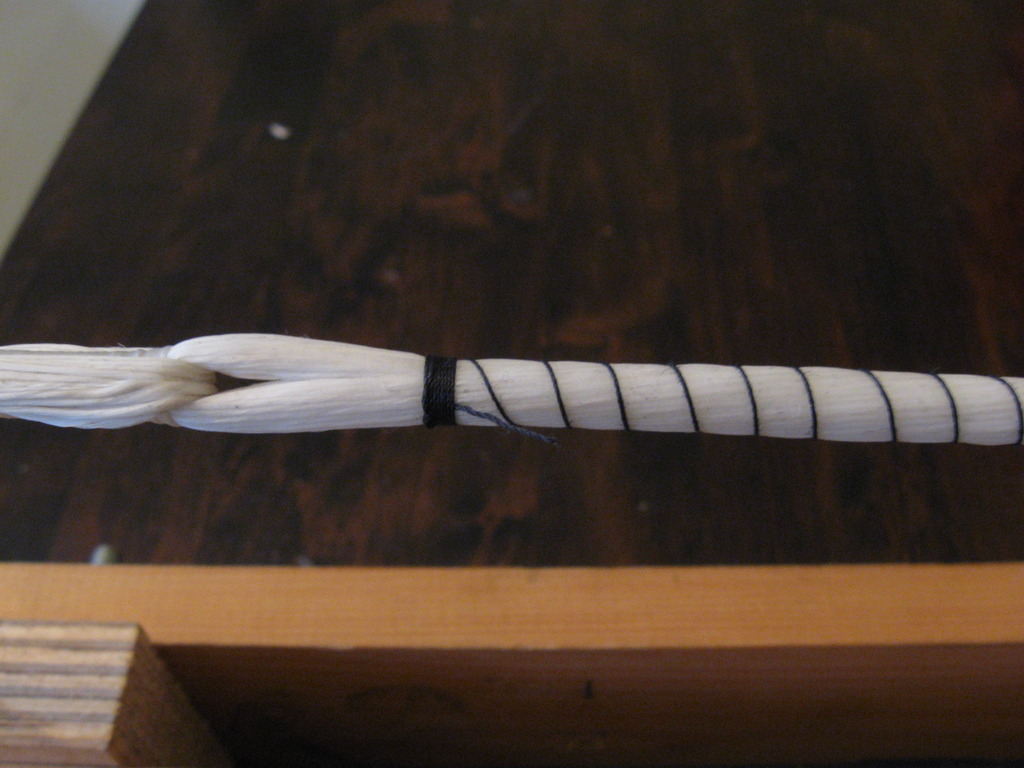
Next serve the center of the string. The green stuff beneath the serving is a thin layer of silk cloth, which is by no means mandatory.

As the loop serving - especially the very end of it - is prone developing "cracks", I often protect the loops with thin leather.